- How A Tardis Themed Arcade Build Began To Take Shape
- The Tardis Arcade Hardware Invasion
- -> The Tardis Themed Arcade Comes Together
Last Updated on January 17, 2020.
In the last post we covered the wood working and inner wiring of the control panel. I built most of it ‘naked’ to make sure things fit well enough, and the VESA plate I attached to the monitor had a decent angle for viewing. I don’t think I could have done that as easily with MDF with my lack of experience.
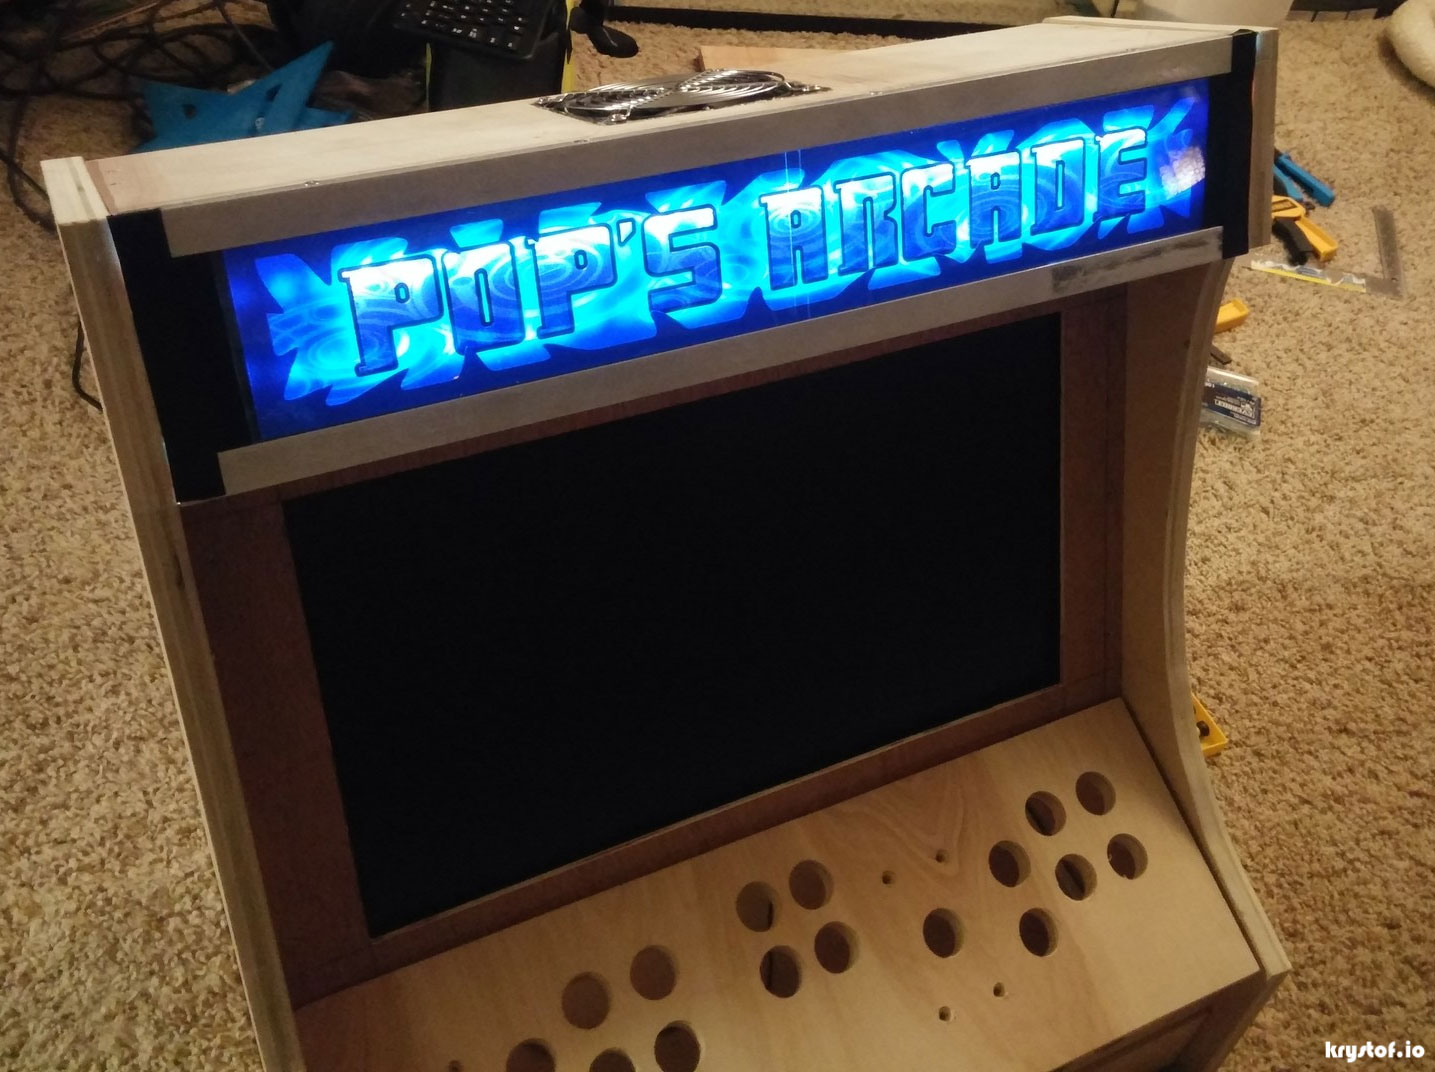
With the control panel layout finalized, I test fit everything together. I wish I took more pictures along this stage, but unfortunately I did not. Next project I will have to snap more photos. I was originally intending a flashing Tardis light up on top, then just went and cut a ventilation hole up there instead, totally forgetting about the light fixture. Ah well. I still wired up my Raspberry Pi with a script to drive two LED lights embedded in the speaker holes to pulsate with the Tardis ‘Whoosh!’ sound when the machine boots up, so it all worked out well enough.
I designed and printed off the Marquee at home, overlaying the Doctor’s name in Gallifrey on top of the ‘Pop’s Arcade’ in a Doctor Who style font. Behind the marquee is just a flat panel of wood with 2 soft white 12 volt LED strips from my old RC airplane days. I printed two copies of the marquee and laid them over each other, which not only fought off light washing out the print but also gave a slight effect of depth to the words which I really liked.
Unfortunately I only have a inkjet and not a huge plotter, therefore at certain angles you can see where joined the two marquee halves together. There are printing companies online that will do full pieces, and I’ll heavily consider it next time around.
The Control Panel piece is hinged so it lefts up and towards you to get access to any wiring necessary, and the original plans I found (see first post) were adjusted to add more height for a keyboard tray. The very back of the arcade opens up to reveal the monitor mounted on a horizontal length of wood, with the power supply, wiring, and raspberry pi secured inside.
Now that it’s put together, tear it all down
I assembled most of it at this point except for the raspberry Pi and controls. This way I knew the wood came together as it should before I took it into the garage for painting. I haven’t done a lot of routing in my life either, so I was opting for white edge banding compared to arcade T-Molding. While the T-Molding really looks great and smooths edges out nicely, I figured I’d save that wood working struggle for a later time.
So, taking each piece downstairs, it was time to sand and prime.
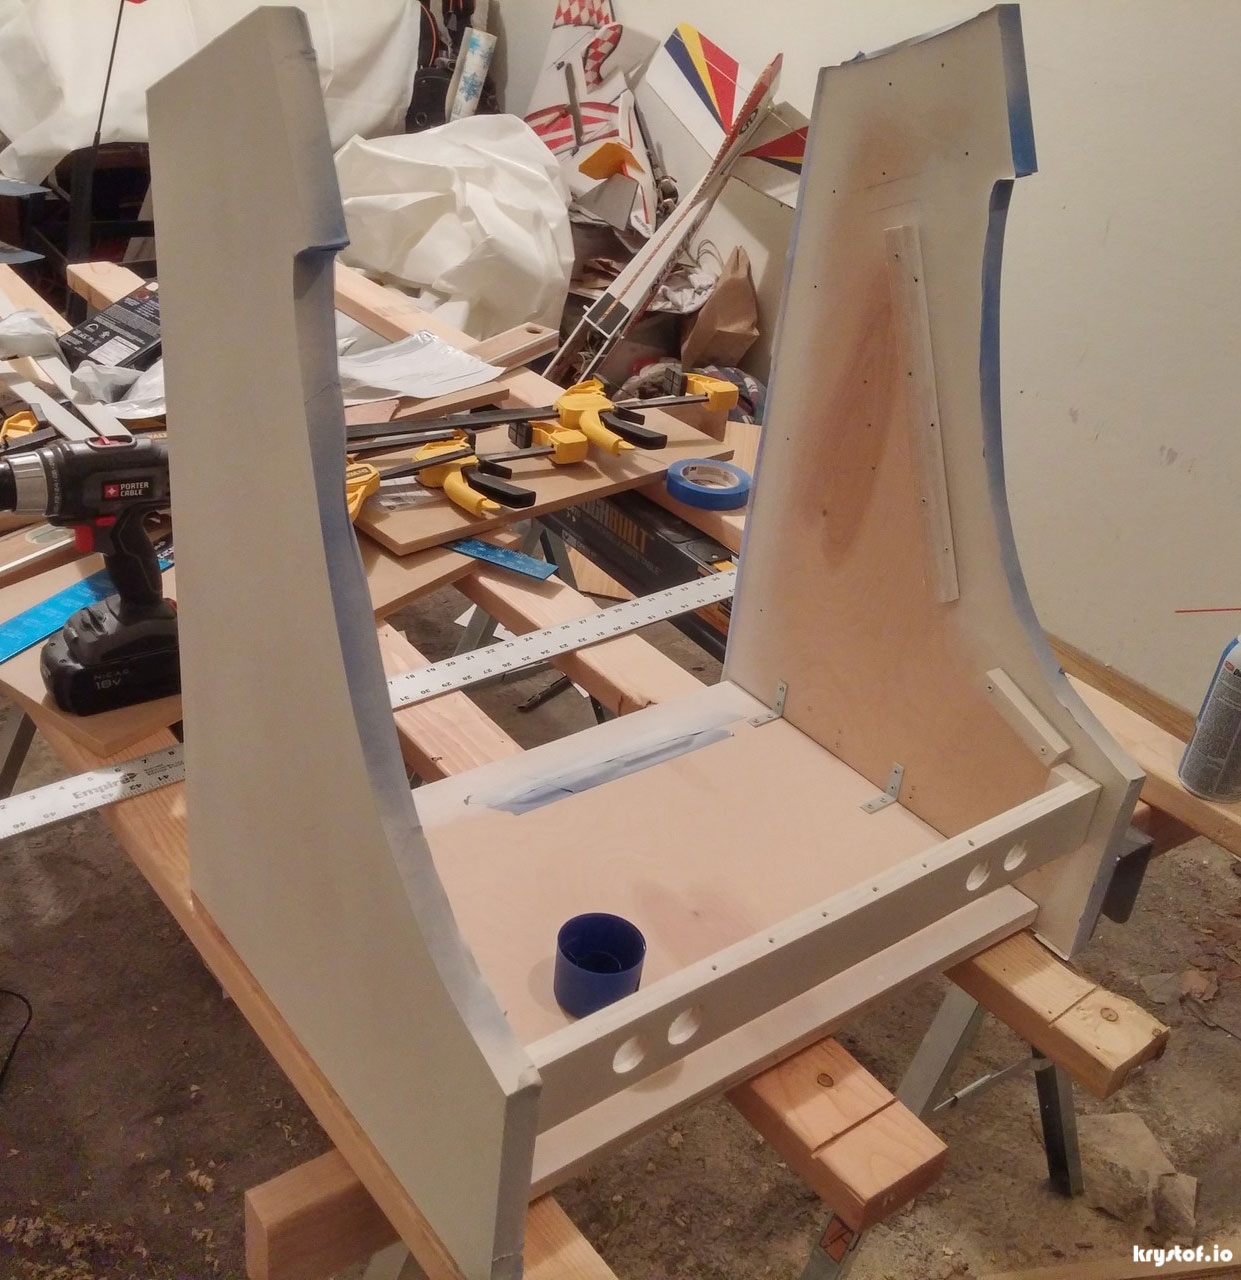
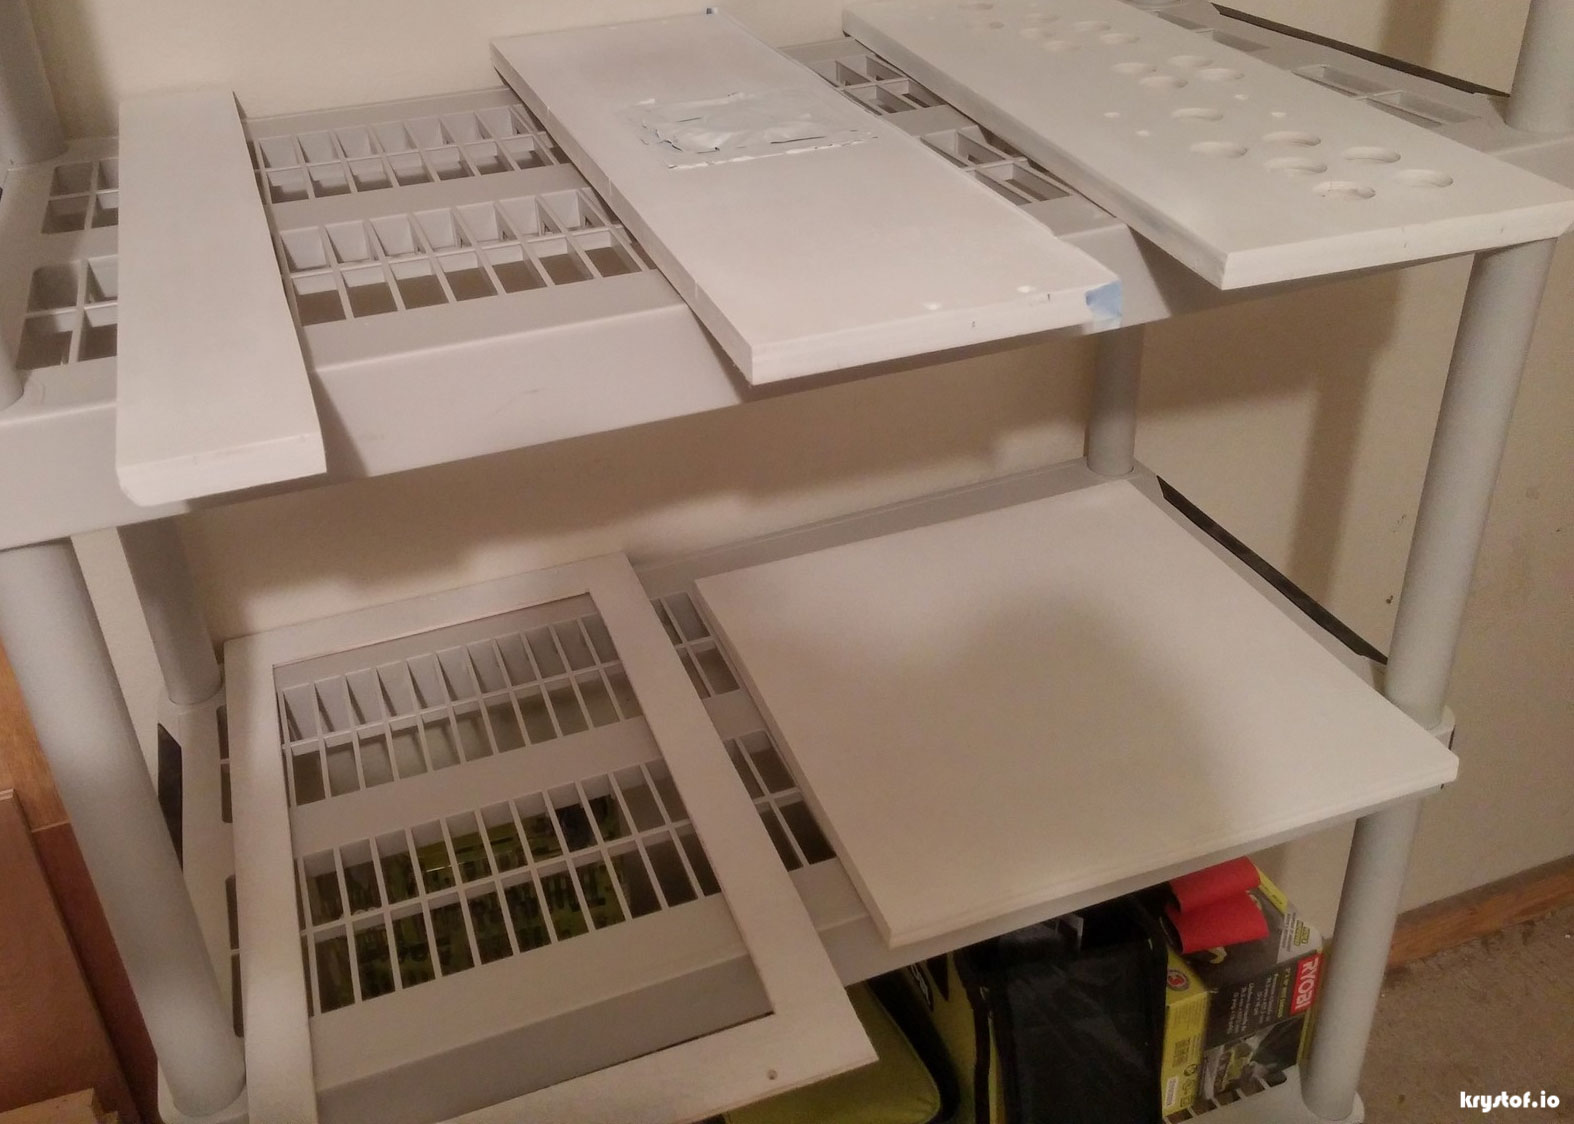 Not having access to anything near a professional painting setup, just a garage with some Krylon Fusion and some sand paper, I got down to business. I was surprised and happy overall with how it turned out, and while I read that I could have just started painting, I’m really glad on how the primer helped the paint attach and how smooth 95% of the surfaces felt when I was done.
It was around this time between painting breaks that I worked on the acrylic control panel overlay. Measuring out the acrylic to match the control panel was easy. The cutting of the holes for the acrylic proved to be more of a challenge. I didn’t want to just use a spade or forstner bit. I tried to practice with scrap acrylic knowing it would be a struggle and it surely was. So when it came down to the actual cutting of the holes for the buttons and joystick to fit into, I opted for a step bit on the acrylic whereas I used the forstner bit on the control panel wood.
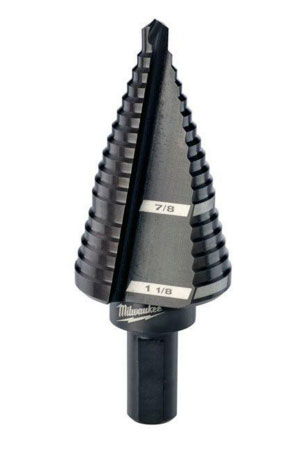
A Milwaukee #9 7/8 in. and 1-1/8 in. Step Drill Bit, to be exact. Taking it slow into the circles and spots I drew on the acrylic outer plastic wrap (leave that on while you drill!), I couldn’t have asked for an easier cutting experience with acrylic. Once the piloting hole was drilled through, this thing literally fell through the acrylic like butter, step by step. Take it slow, take it easy, and with the 1 1/8″ maximum width of the bit matching my desired hole size, I didn’t have to worry about it sliding further and making a larger hole than intended. After I finished drilling all of the holes in the acrylic, I noticed only one small crack that was hidden by the button chrome anyhow. After drilling that many holes I was more than accepting of that outcome. Expensive as it may be, it’s my go-to for acrylic hole drilling from this point forward.
I found some Tardis schematics online and printed them out on a high gloss inkjet paper. Trimming those the control panel board, I was able to complete the acrylic/overlay/control panel sandwich. I manually traced the circles through with the paper and cut them out by hand, however. Drills and paper are extremely strange bedfellows, in my opinion.
After the paint dries…
It’s time to take it all back upstairs and put it all together.
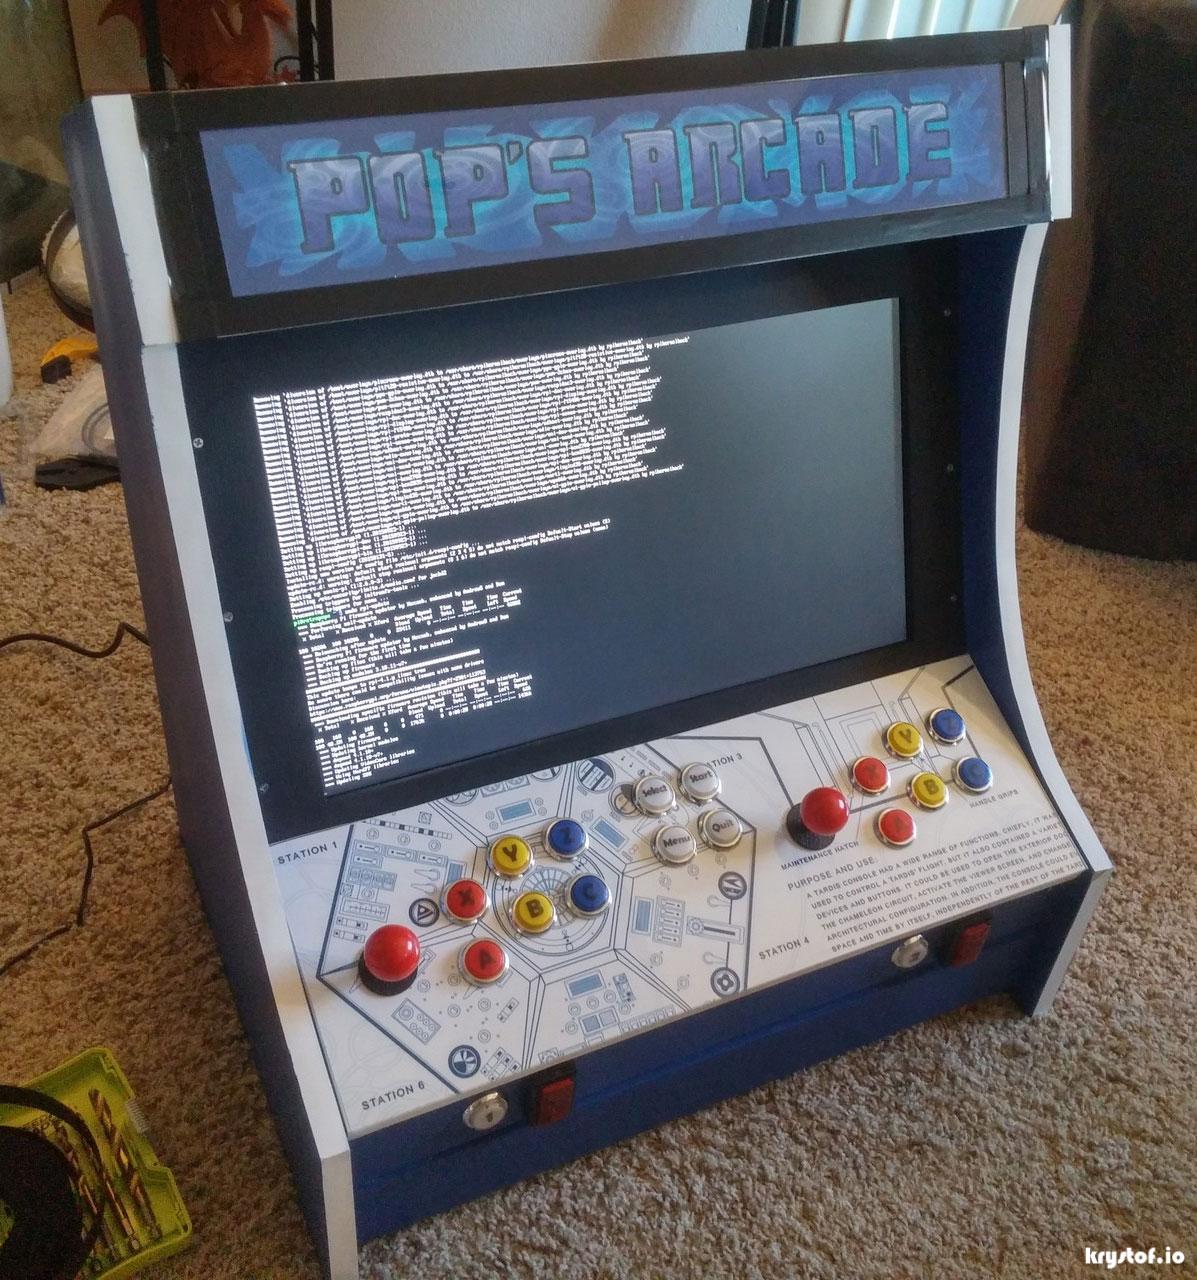
While C slept one morning, I was edge banding my life away after finally getting the painted pieces re-assembled. While I’m glad I used a hot iron to affix the edge banding, it sure is a delicate process. Compared to T-Molding, however, I think it came out fairly well with only a few spots to touch up or re-cut afterward.
So at this point, it was really ready to go except for one last piece. The side art. An arcade machine should have something on the side, and I’ve got a ncie control panel, cool lit up Marquee, but nothing yet for the side art. I struggled with the idea of printing a large background on paper and having to line up each piece… Or something on adhesive ink jet vinyl… or a poster of some sort.
C had a great idea that left a lot of the nice ‘Tardis Blue’ paint I found revealed but also gave her a creative outlet with that Silhouette cutter. She searched around for various members of the Dr. Who rogue’s gallery and started cutting outlines on adhesive backed vinyl. Here’s the spectacular result:
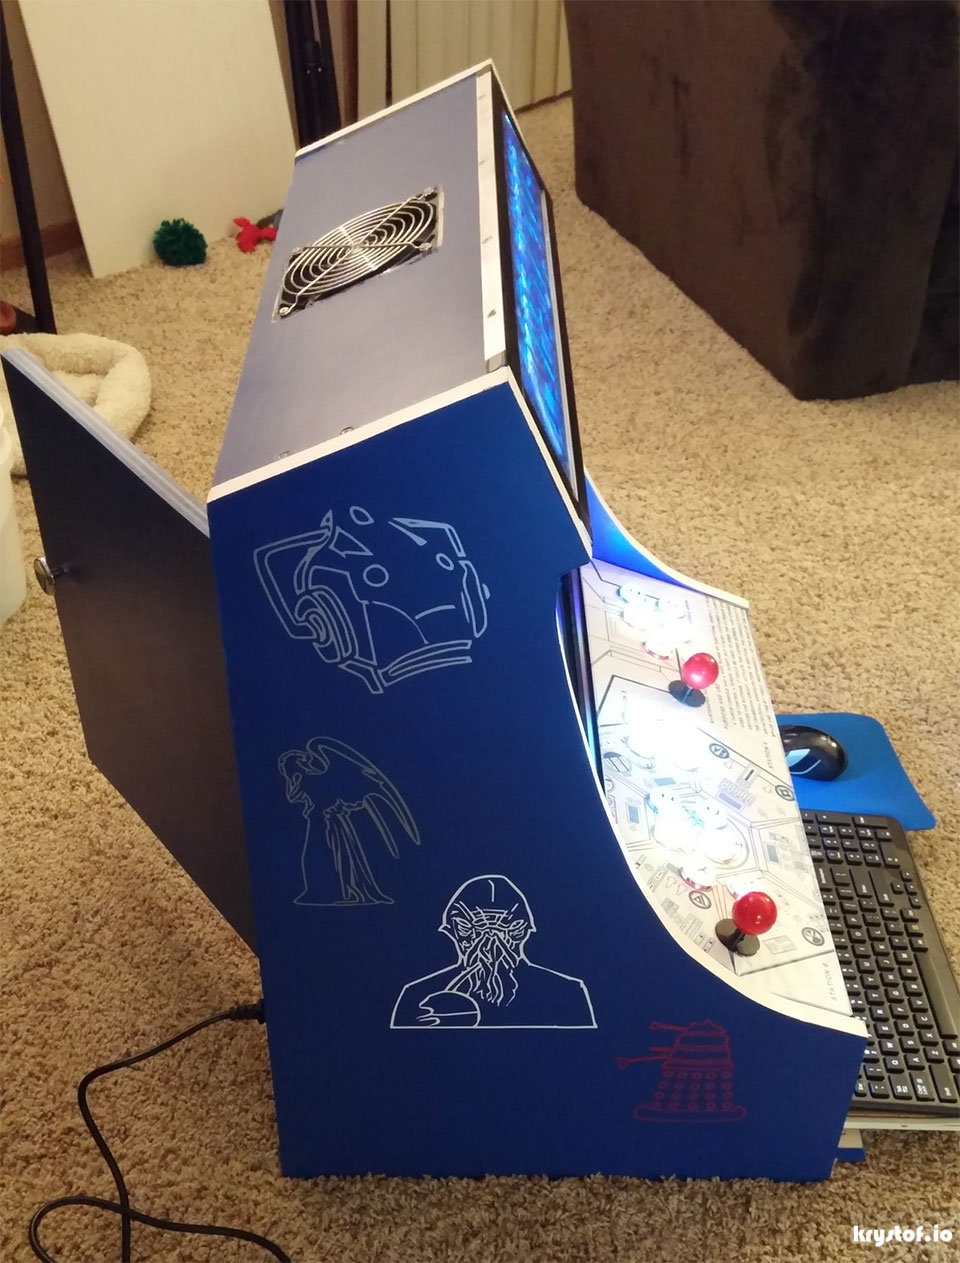
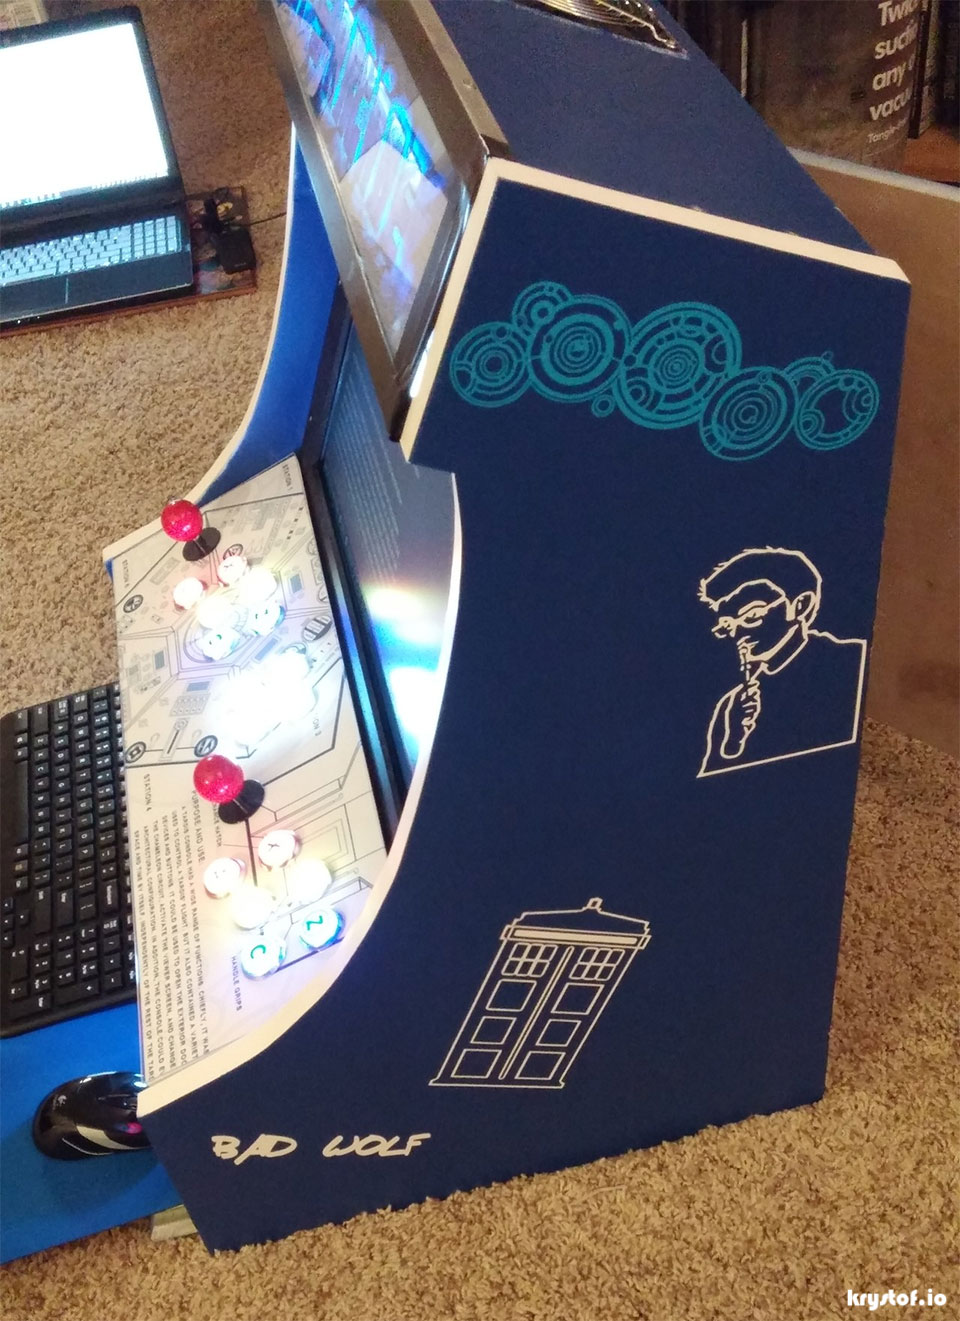
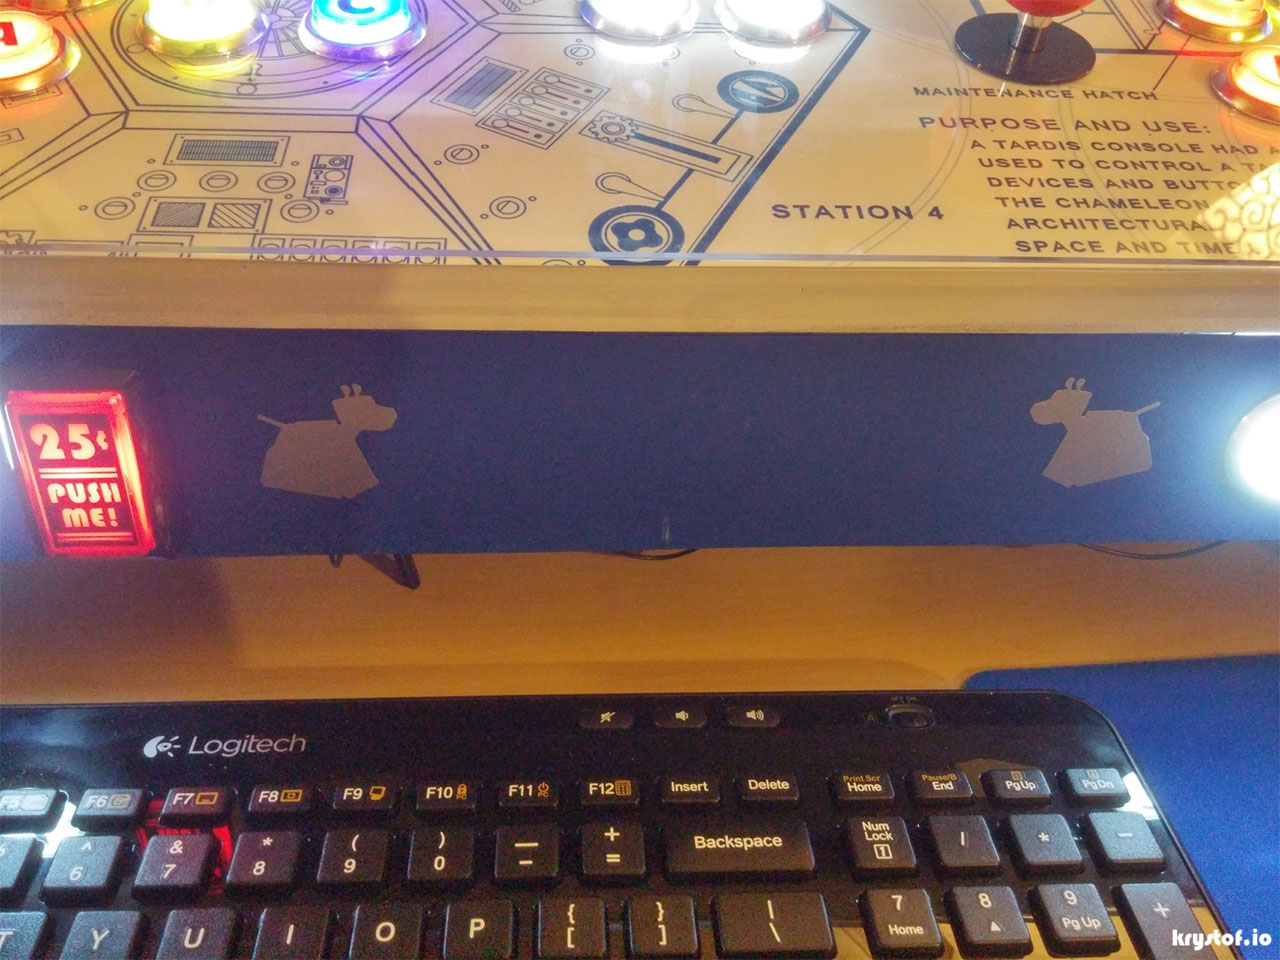
Even the piece above the keyboard tray got some K-9 action:
When it’s all said and done…
I love how it turned out. I love that it was challenging for me on numerous levels, from hardware, woodworking, painting, graphics, software, joystick controls, lighting, and even some electrical work, as a LED switch plug and cutting apart a surge protector was not something I’d ever thought I’d be doing. I love that I was going to be able to present this as a gift to my Dad, and we could relive gaming on three separate platforms all over again, from Atari 2600 to Commodore 64 to your standard IBM PC.
It may not be the perfect build, but it’s the all the effort that goes into a handmade gift that really makes it special. As much as this was for Dad, I give credit to Mom for holding a secret for so many months.
When we took it over to my parent’s house, it was underneath a sheet and sitting on the coffee room table. He had only one guess that he could come up with what was sitting underneath the cloth: a gun rack. His expression when I lifted up the sheet, however, was priceless. The first thing he asked after looking at it from various angles was ‘What is it?’ ‘Well, Pop, it’s your very own arcade machine.’ ‘Well yeah, but… it works?’
I powered it up into it’s start up sequence – a Tardis flying through space and the words ‘Welcome To Pop’s Arcade’ flying right along with it, Dr. Who theme music and all. He was completely enamored and taken aback by the whole thing. When you hear the words ‘I don’t think you’ll ever be able to top this gift and what it means to me that you made this’, I felt overjoyed that we could relive a little of our gaming history together again and that he loved how it turned out.
In fact, that’s what we did for the next two or three hours. Playing Heretic on my laptop connected to his Tardis Arcade via LAN meant that once again, after 20 years, I could turn him into a chicken with the ‘Morph Ovum’ spell, and he could, somehow, manage to figure out a way to peck me to death.
Visit the Tardis Gallery for all images.
