- How A Tardis Themed Arcade Build Began To Take Shape
- -> The Tardis Arcade Hardware Invasion
- The Tardis Themed Arcade Comes Together
Last Updated on January 17, 2020.
In the last post, I mused over the main electronic guts of what would become a Tardis themed arcade build. All I knew is that I’d build something to enclose said guts, just not what yet. My parents have been in the same house for three decades now, and over time you accumulate enough stuff that a stand up arcade probably would have been too much.
So I started browsing around for DIY arcade designs, as I wanted to make this myself, and hopefully not lose a limb in the process. The two people I would have asked for help, Salazar and Pops, I could not ask… As I was also building a retro PC for Salazar as well. So any woodworking would be my first and mine alone. Still have all my fingers, so I must have done something right.
Ordering a game at the bar…top
There are numerous designs for your own DIY arcade. Cocktail, Bartop, Standup, Showcase… Bartop ended up winning for my gift for Pops – I could put it on his bar downstairs (if I could convince him to stop using it as a storage area, but if Mom can’t do that, I doubt I’d be able to) or even a desk. I searched numerous designs, but found this instructable by rolfebox that fit my bill for the most part:
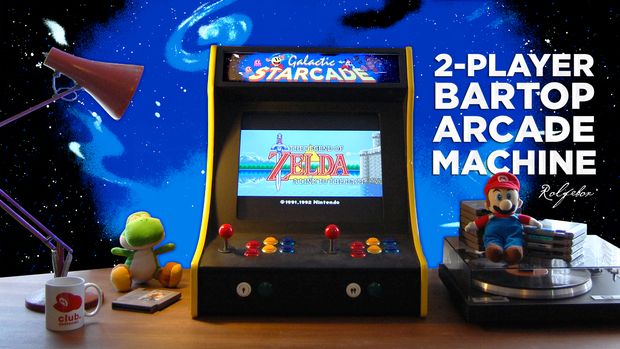
The plans are great, and I followed them not to the letter, but more to the word. I knew I was using at least these components:
- Raspberry Pi Internals
- Acer VS228 LCD Monitor
- Joysticks and Buttons
- Keyboard and Mouse accessible (we played a LOT of Heretic, Hexen, and Doom)
- LED Lights for Marquee
- LED lights for startup sequence (I wanted to add the Tardis Whoosh!)
I wanted to make sure all of these would physically fit with the plans above. They wouldn’t right off the bat, you could see above there is no keyboard tray, and the monitor used is smaller than the one I wanted. There are two main conclusions to draw from this:
- Be ready to modify any plans you find for your own purposes. Print them off, tape them together, or take them to your local printer and print them at scale. Your hardware needs to fit, and if you don’t have exactly every single piece used in an example you find, you may need to adapt measurements.
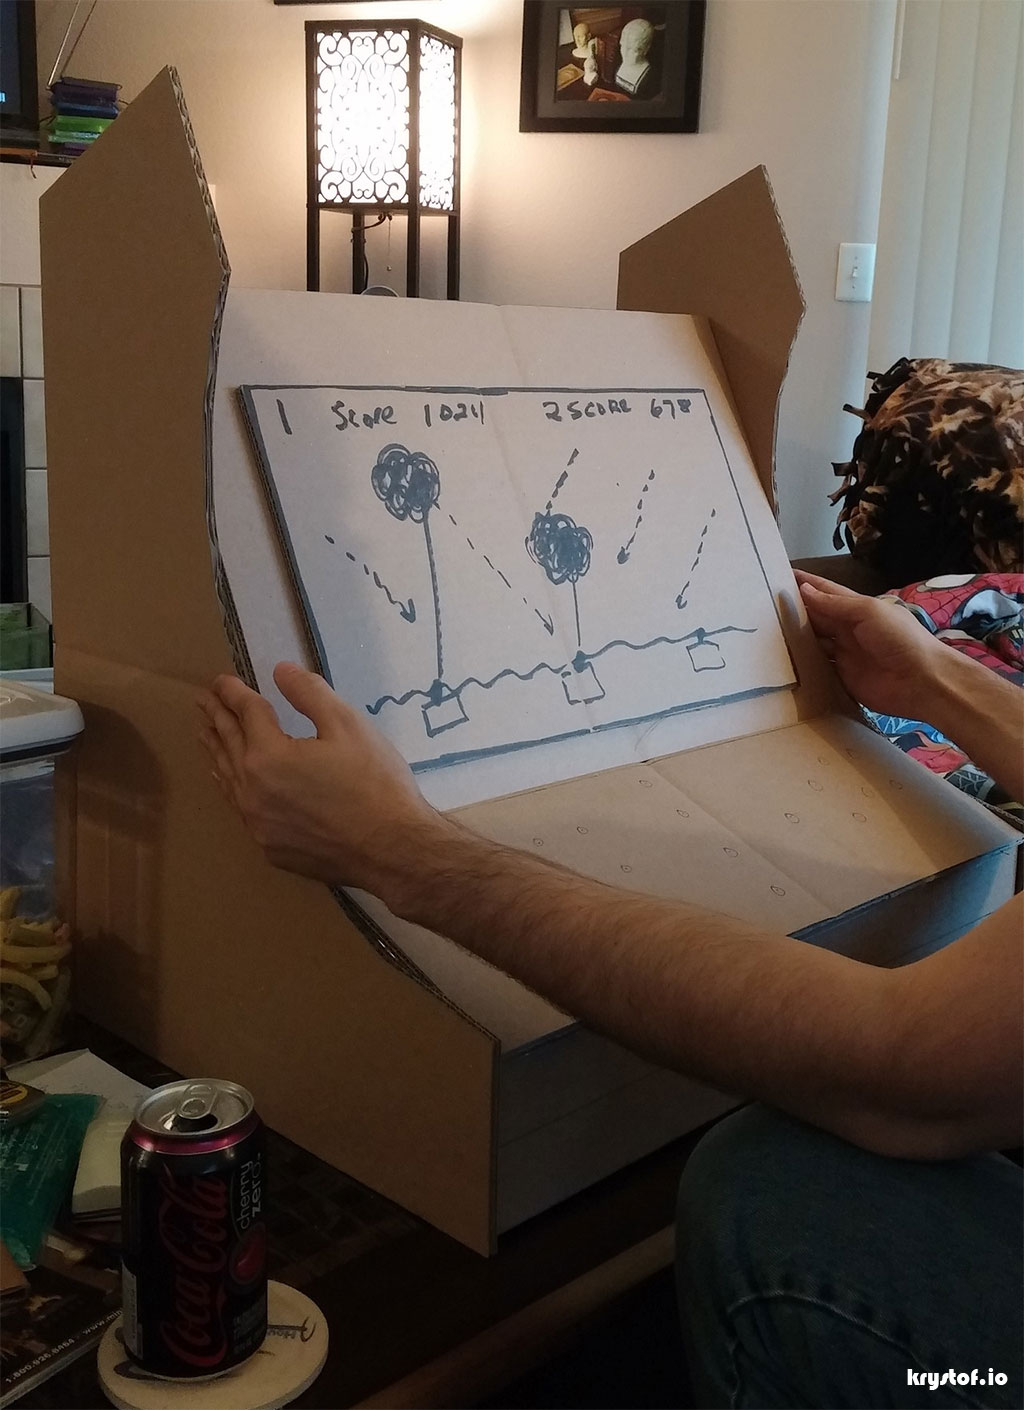
- Make a cardboard mock-up of your final plans before you cut any wood. I can’t stress that enough, so I’ll probably say it again in either this sentence or the Make a cardboard mock-up of your final plans before you cut any wood. — well, there it is. You can measure the width and height of your display and make sure the cardboard mock-up fits, as you can see in the featured photo at the top and below:
No Guts, No Glory
So now that I have the plans I wanted to base the arcade build upon, had a separate thread in my head of what was going to be inside. While I’m used to keyboard and mouse gaming on a PC, a DIY Arcade’s spirit demands joystick and button glory.
This was a difficult decision. You can make this as cheap or expensive as possible. You could buy your own joystick, your own buttons, your own controller, and wire each one yourself. I’ve been down that road, and was getting tired of the soldering iron. While it would have helped my soldering skills, there was a balance between exactly how much Y I wanted to put in the DIY. I was already building the cabinet, I figured I’d at least purchase some wiring harnesses instead of cutting, crimping, and soldering each connection individually.
So, a pack of hardware suited me best. I opted for this package from Game Room Solutions
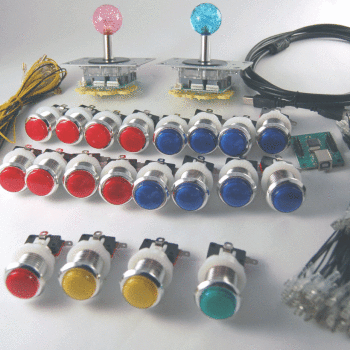
You get essentially everything you need to use arcade hardware in your RetroPie arcade setup. It’s also, due to the USB controller shown, not limited to the your Raspberry Pi.
A shell of an arcade
Off I go to Home Depot. Tools, Lumber, Glue, Brackets. I’ve measured out the cardboard prototype and just had to figure out the material I’d use to create this monstrosity. I searched for a few options available to me, and they came down to two in the end:
- Plywood – This is what I ended up going with. 3/4″ thick Maple or Birch Plywood. It may be heavier, and I could have probably gone lighter, but I wanted stability and some room for error. I could still sand and paint this later as well. You’re looking for furniture grade in my opinion. Cheaper is not necessarily better, but your mileage may vary.
- MDF – I felt it would be heavier than the plywood I chose (even though my plywood was heavier than thinner plywood by comparison), but there were two aspects of MDF that gave me pause. Toxicity and Screwing. (Oh man, I used ‘anal’ in another post, now I’ve got screwing? It’s all downhill from here) MDF is quite toxic when you’re cutting it, as it’s formed by taking wood pulp and pressing it down with a generally formaldehyde based resin. That’s in the air when you’re sanding and cutting. Plywood itself can be bad enough, so toxicity was a big no for me as an amateur. Screwing is the next point – once you screw into MDF, it tears fibers apart to make room for the screw. You can screw into MDF once, where a wood screw in plywood can handle more room for error. You can use pilot holes and MDF screws to counteract this, but I wanted to get this project moving along.
Once again, as a total novice in woodworking, I chose the option with more give and take and less chance for killing myself with. Both are very viable choices, it comes down with what you’re more comfortable with.
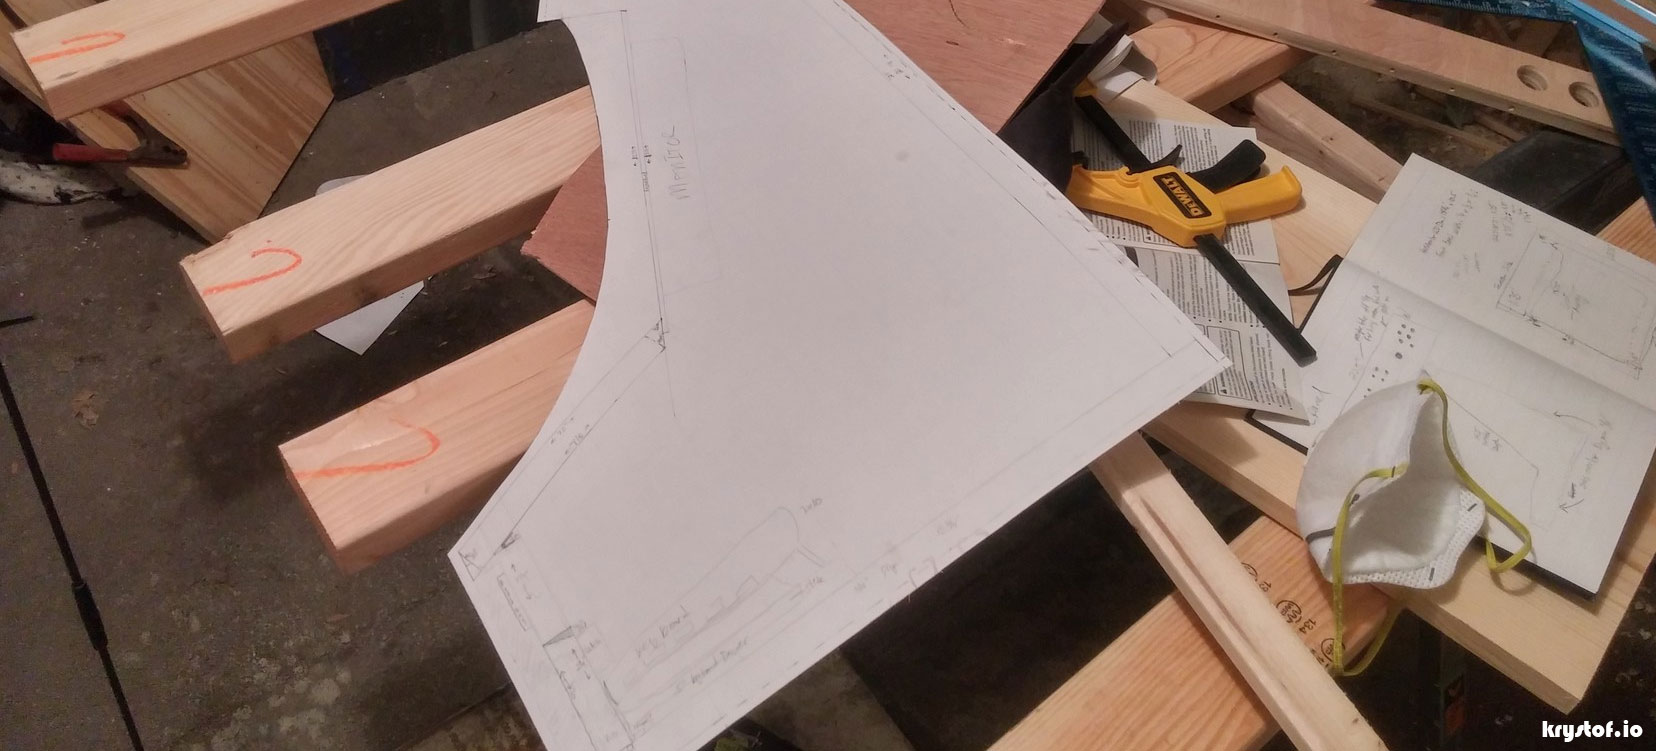
I started turning my garage into a wood working nightmare. At least if I ever do anything with wood again, I’ve got tools and sawhorses for it. I was so ready, can’t you tell?
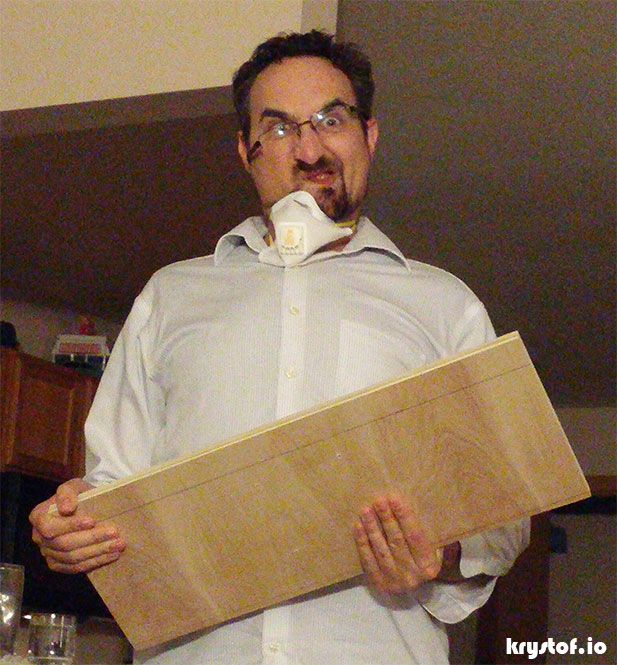
“One person’s craziness is another person’s reality.” Tim Burton
Control? Come in, Control.
While there was woodworking going on, there was also some wiring of the guts together before anything was actually placed inside. These DIY projects tend to have multiple threads going at once, and I wanted to make sure the parts would work together. I highly recommend prototyping your control panel just like we made a cardboard mockup of the shell for no other reason than seeing something come to fruition early to keep momentum going, and give you a break from one part of the project to work another. Wiring up a control panel let’s you gauge sizing issues, determine layout, and hook all your guts up while you spend time configuring the software side (i.e. your joystick controls and your system / emulator / game play)
You could use very thin project board, scrap plywood, whatever. The Control Panel is by far the most important component of the external interface to your arcade. Consider button layout very carefully. Once you drill holes in wood, you should already have a good idea of button placement. An excellent resource for layout styles and history is is Slagcoin, and search DIY arcade forums as well like the Arcade Controls Forum
I opted to make mine out of spare foam poster-board. It was just sturdy enough to hold all the components together:
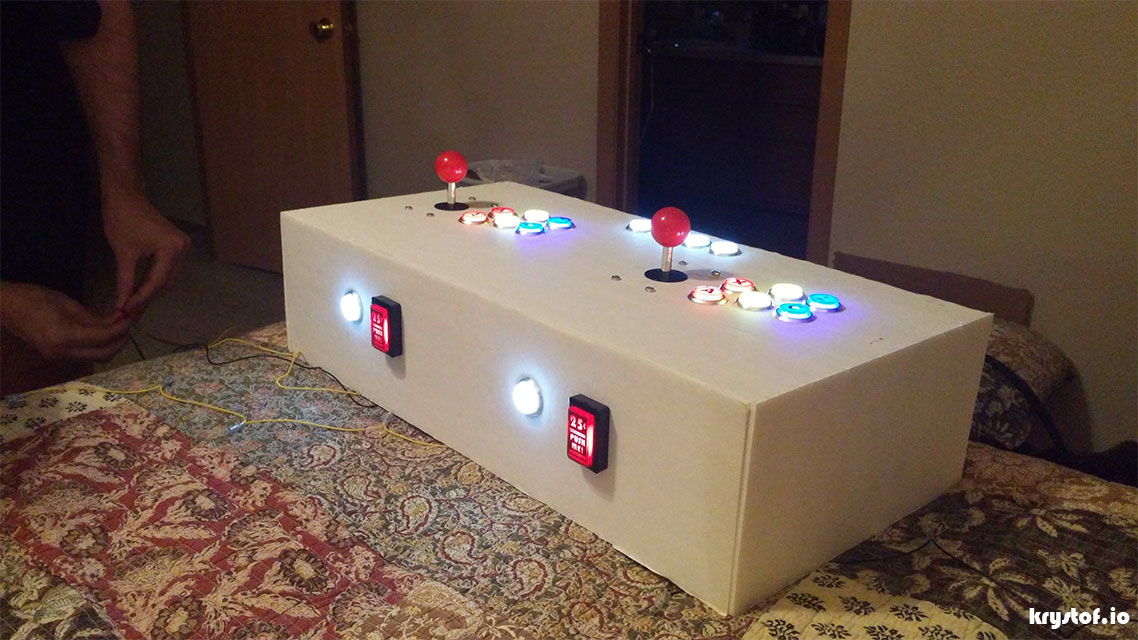
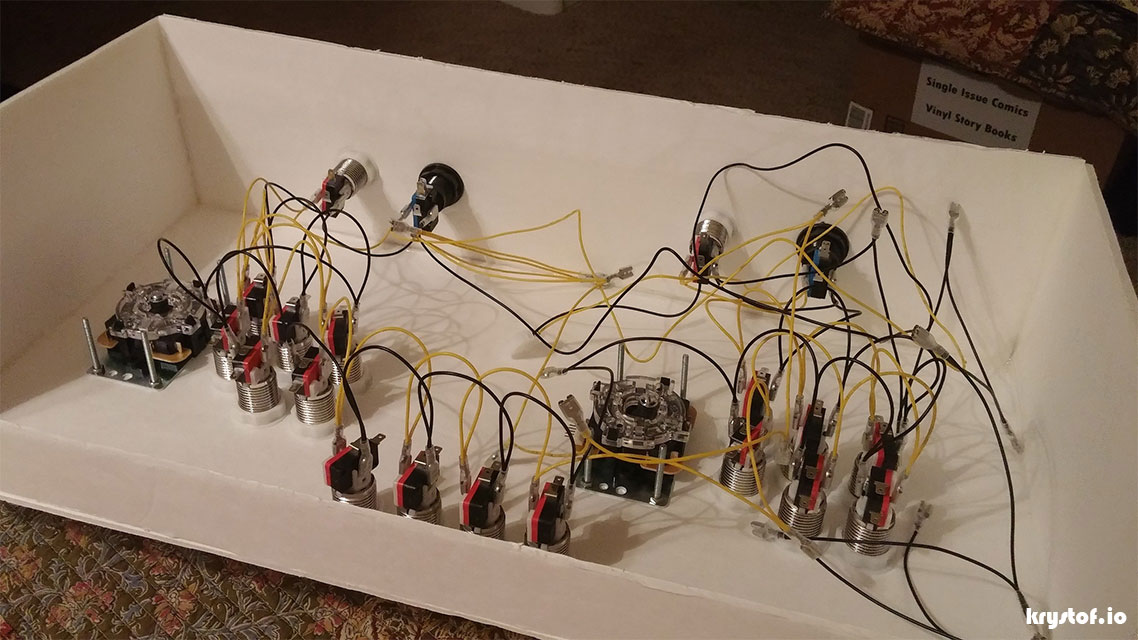
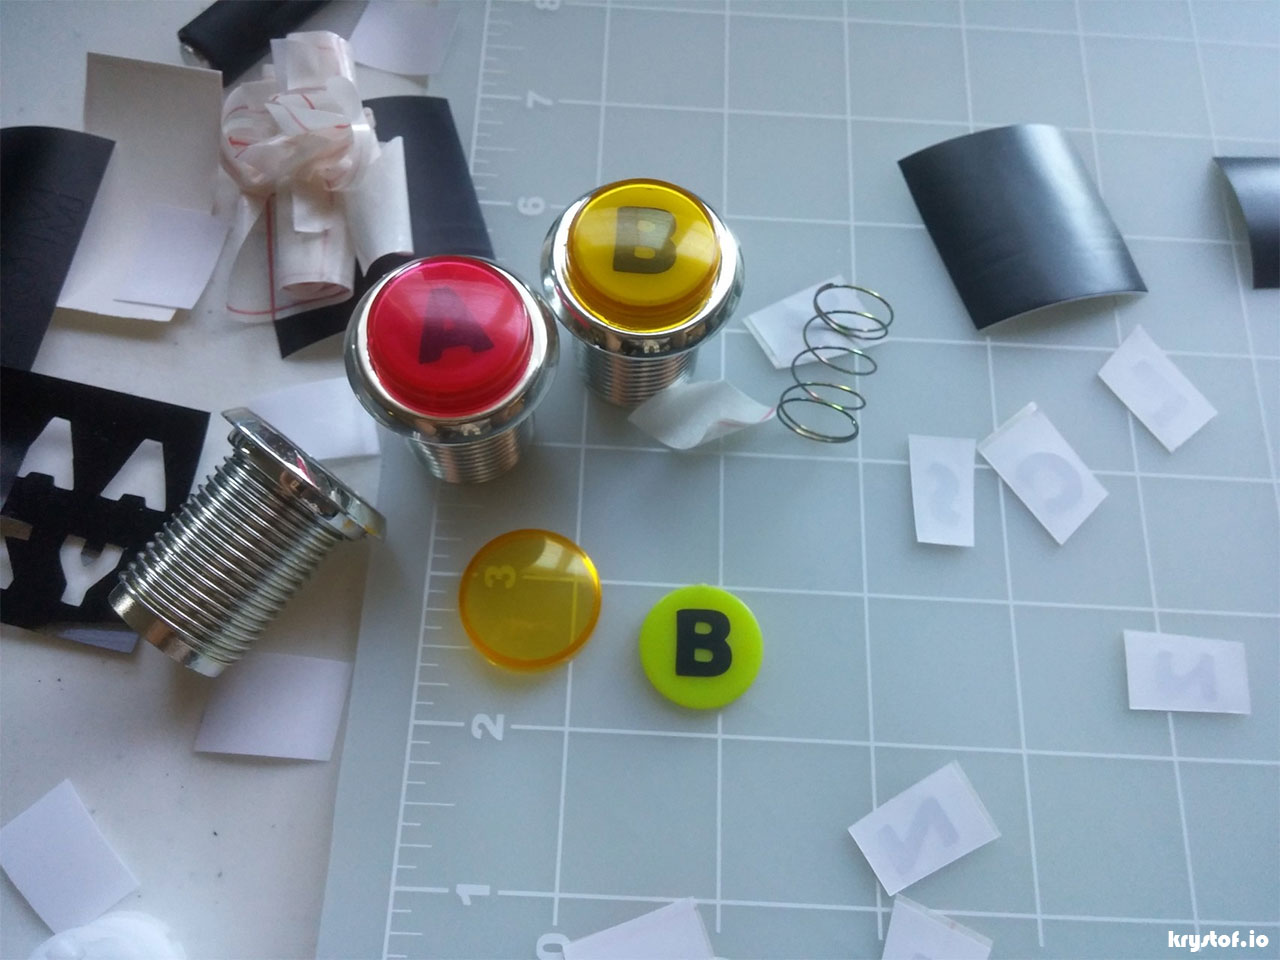
You may notice the markings on the buttons. They weren’t there when I got them. Another piece of hardware I purchased for this endeavor, and has been used quite a lot by C and myself for other projects is a Silhouette Portrait cutter. Works like a printer, cuts paper and adhesive vinyl, and that’s what I used to create the button labels – the nice thing is that they’re underneath the top button casing, no fingers working against the vinyl over time:
Things were starting to come together – mock-ups created, wood and plans finalized, and control panel wiring designed and tested with the Raspberry Pi. Now to actually make the cuts and start putting this thing together.
