- RC Combat! Part 1 – Parts and Plans
- -> RC Combat! Part 2 – Tips and Tweaks
- RC Combat! Part 3 – Combat Reloaded
Last Updated on October 27, 2019.
Original Date posted: December 15, 2009
Welcome to the second part of our Combat! Series articles. This article focuses on some finer points of setting up your combat flyer. While enthusiasts that are experienced with electronic flight may find the following information on the backs of their hands, the newcomer will hopefully find the hints and tips useful.
Unfortunately, diving deeper in any of these topics warrant articles in their own right, so with that in mind, we’ll be doing just that! For example, I may do a small write up on amperage and prop sizes in detail, while this article may only cover the simple watt meter / prop size check only. This way we can keep this as a general overview of setup and configuration and dive into details (and hopefully the devils therein) in later articles. I’ll update this article with links to those as they’re posted.
Servo Centering
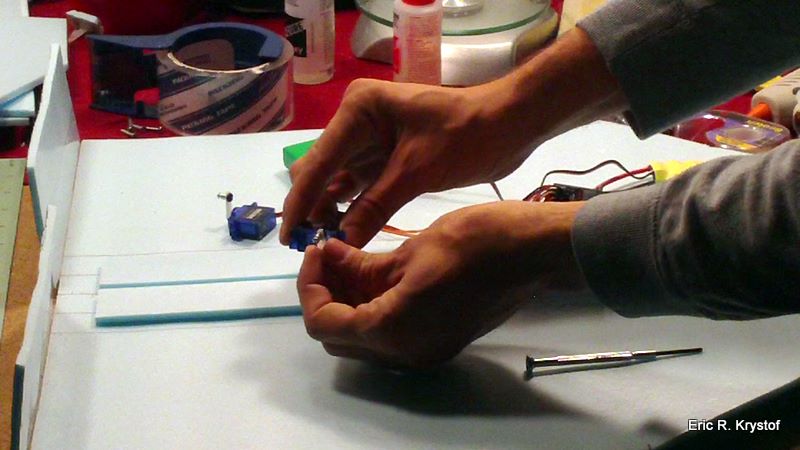
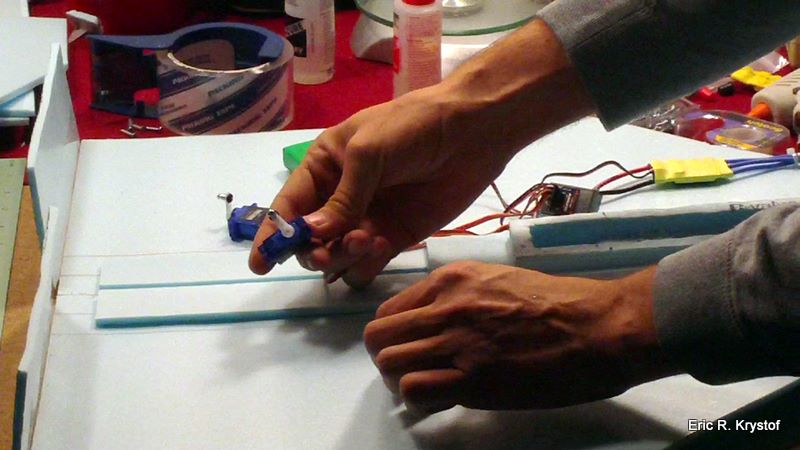
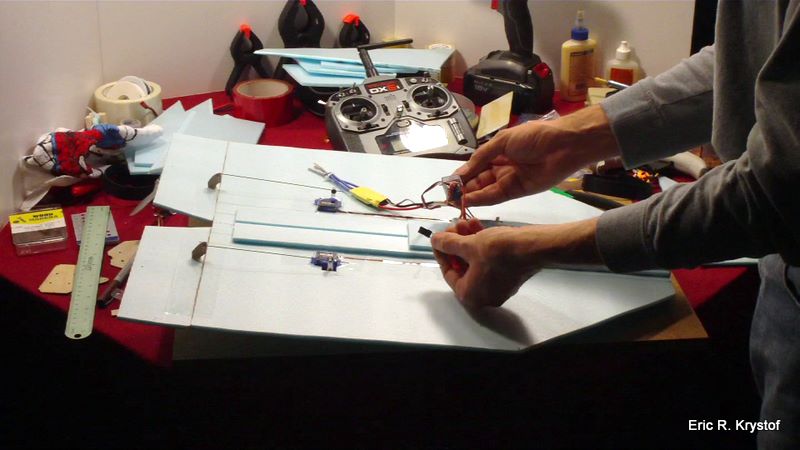
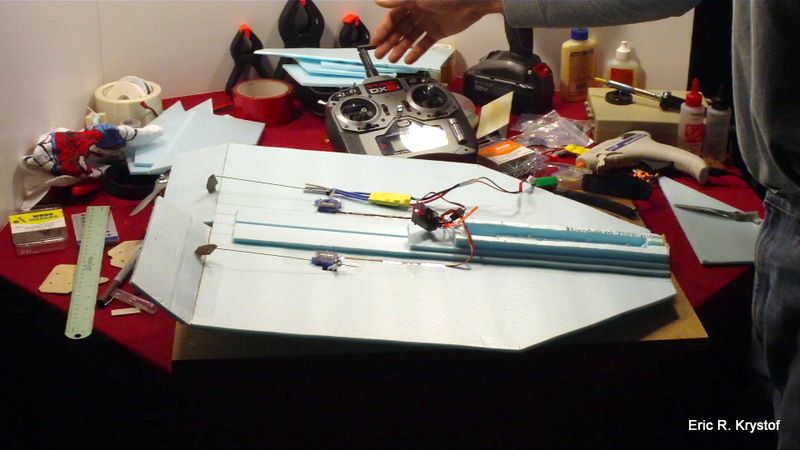
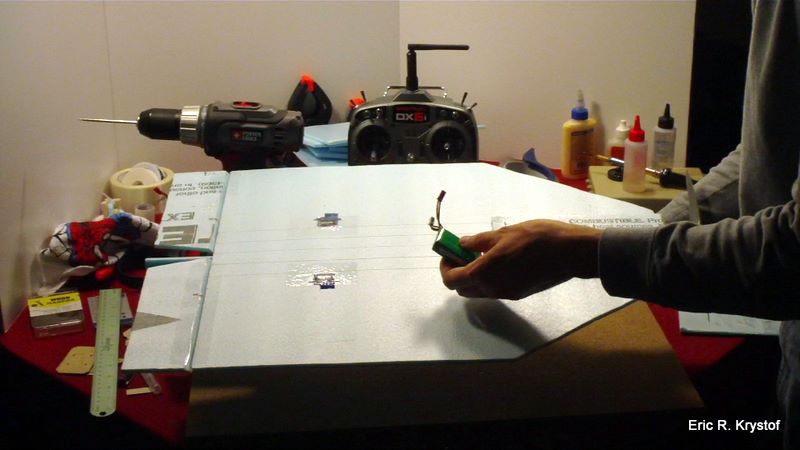
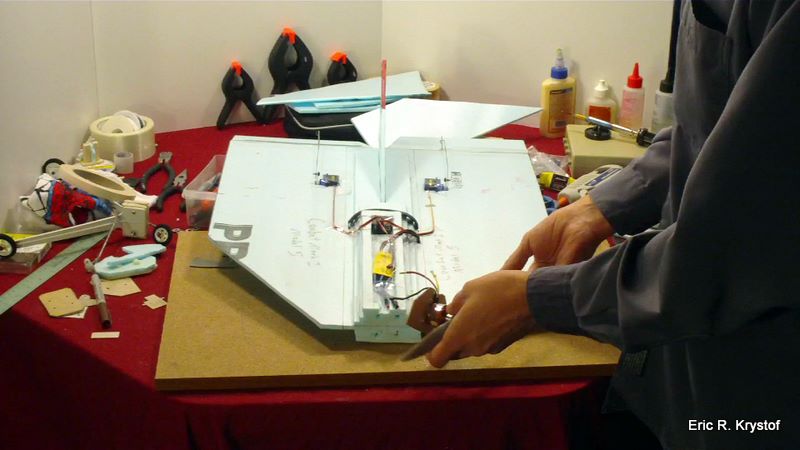
Servo arms easily move with your fingers until you place power to them. Once power is applied to a servo, they go to a ‘neutral’ position and hold there. It’s only in this position you want to attach the servo arm at the 90 degree angle to your wing, before you mount the servo. By hooking up the battery to the ESC and receiver (you don’t have to be bound to your transmitter for this nor have the motor hooked up) and the servos to the receiver, you just built a servo test circuit. Apply power, let the servos neutralize, then screw your servo horn in. After that you can remove power.
Push-rod Installation
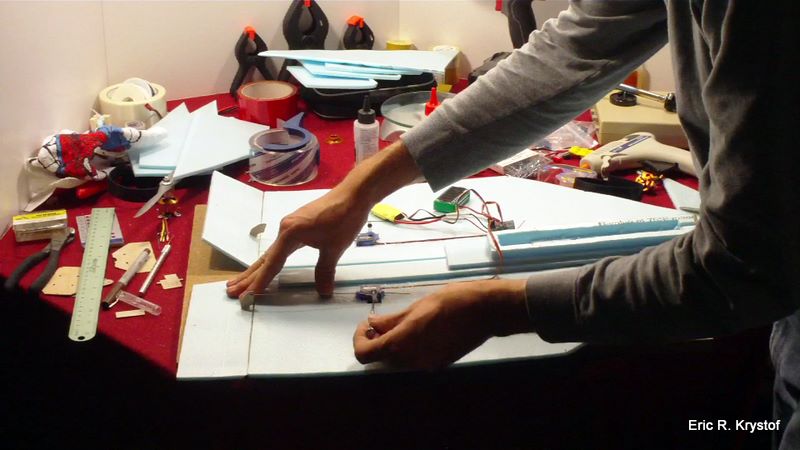
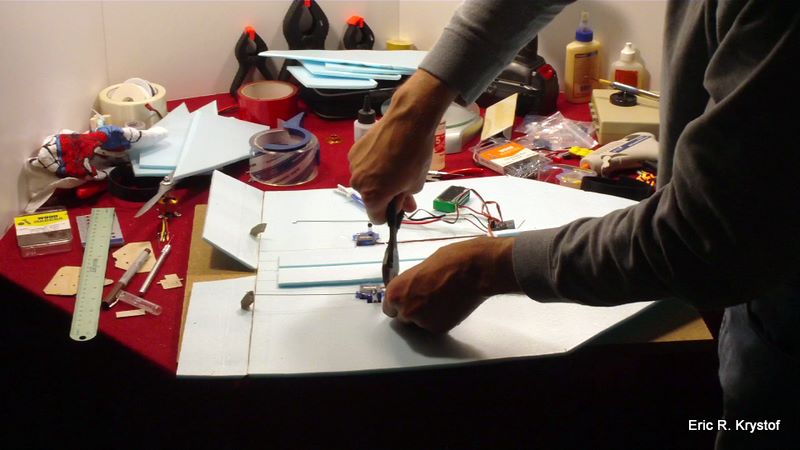
Now that you’ve installed the servos with tape, apply power to the circuit (motor connection and binding not necessary). The servos will be in their neutral position. Slide the bend into the control horn on your elevon, then guide the wire through your quick connect on the servo horn. Lay the elevon flat, lined up with your wing, then slowly tighten the screw. This makes it so that when the servo horn is in the neutral position, so is your elevon. This is why we use adjustable connectors on the servo horns, instead of trying to cut wire to the exact length and bend on both sides.
Binding
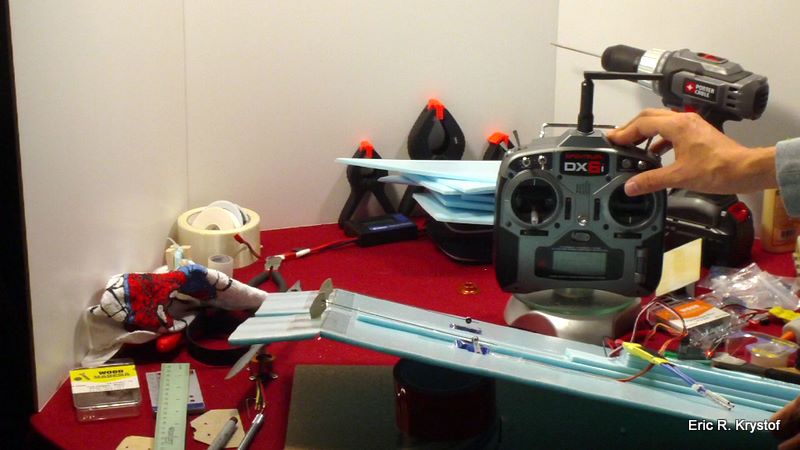
Binding is the process of matching the unique Ids of your transmitter and receiver so they only talk to each other. In 2.4 GHz systems, this is what allows you to fly next to someone else without having to worry about your transmitter taking control of their aircraft. (People tend to dislike this, which is always a risk when using 72 MHz FM crystals). To bind the transmitter and receiver, shut off your transmitter, and place a bind plug into the bind plug socket on your receiver. This makes the receiver enter bind mode when powered up, which you can see by the rapid blinking light on the receiver. Then, turn your transmitter on (with throttle stick down) in bind mode. On our DX6i, that means turning the transmitter on while holding the trainer switch, then letting go. This tells our transmitter to search for his soul mate, and when the two meet, lights go from flashing to steady. Once bound, you can test the servo movements to make sure connections are working, then disconnect your battery and remove the bind plug. You only need to bind once.
Servo Directions
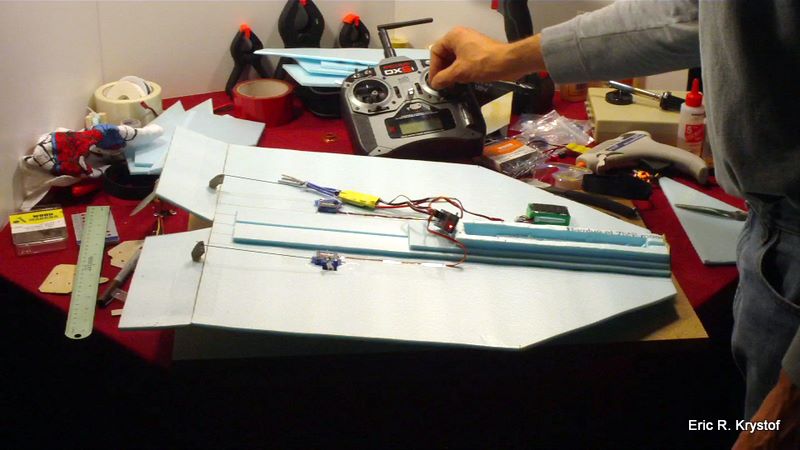
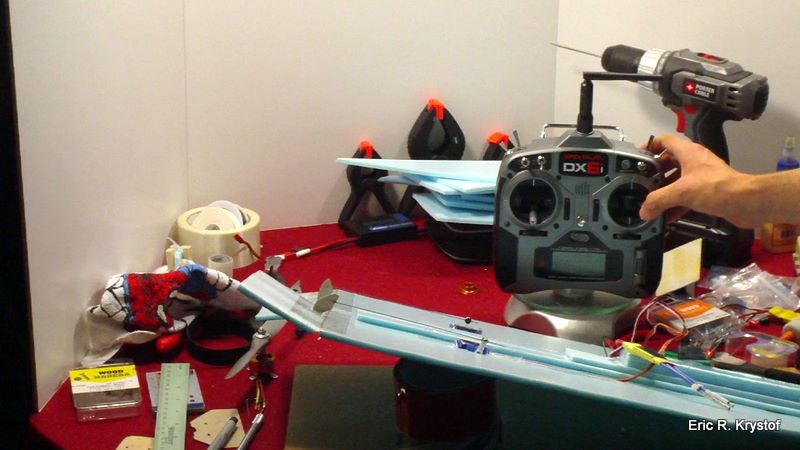
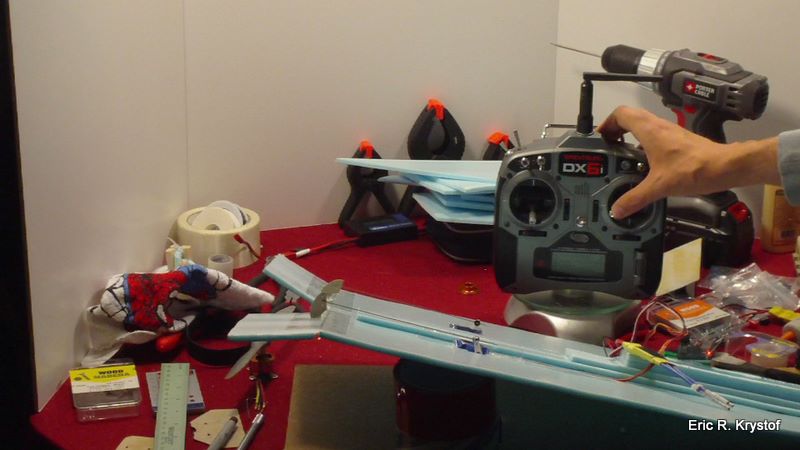
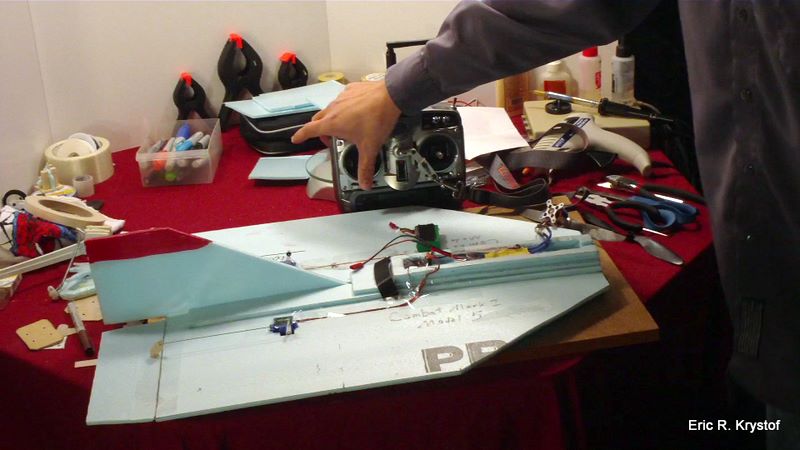
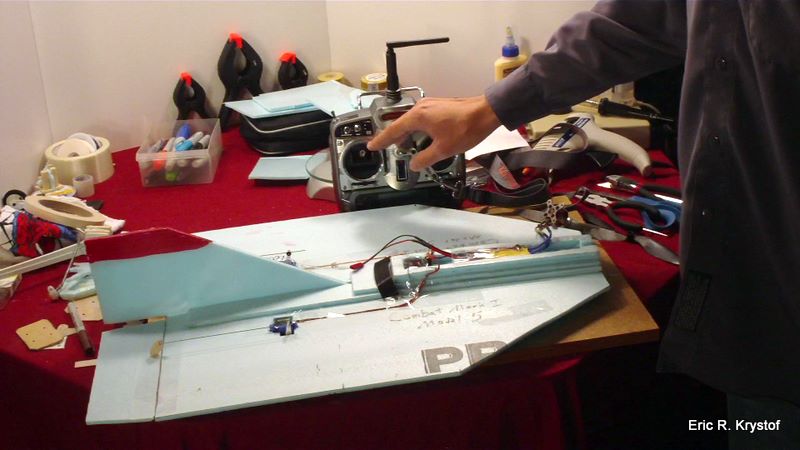
Assuming you’re bound and electronics are hooked up, you should test the servo movements so the elevons rotate in the proper direction. No motor hookup is required. Pushing down on the right stick will cause both elevons to move upward. Pulling up on the stick, will cause (in opposite fashion of down-stick) the elevons to move downward. Pulling right on the stick will cause the right elevon to move up, and the left elevon to move down. Pulling left on the stick will cause the left elevon to move up, and the right elevon to move down. These are important pre-flight checks before you fly, I should know, one of my recent builds crashed within seconds because I was up all night building it and didn’t do a proper pre-flight check on servo direction. If your servos areNOT moving in the directions listed here, you may need to reverse the connections on your transmitter, or the servo cables on the receiver until you reach the desired result.
Throttle Range
When you first use an electronic speed control with a transmitter, you often need to set the throttle range, so the ESC is programmed to know how far your throttle stick on the transmitter moves. Some ESCs auto-detect this, consult your ESC’s documentation. Our ESC (and this applies to most ESCs for throttle programming) is calibrated by turning your transmitter on first, and put your throttle stick all the way up. Then plug in your battery, and you’ll hear warning beeps, in this case two. Then, move the stick all the way down and the ESC will respond with two more beeps, and then the flight music once it’s armed and ready to go. Like binding, you should not have to repeat this step unless you swap to a different transmitter.
Motor hookup
Although you mount the propeller so that any wording faces away from the aircraft, you can still have the motor going in the wrong direction. Hook up the motor to theESC and give a little throttle to your craft, you won’t need much. When in the wrong direction, you will feel NO air flow behind the prop and over your craft, you’ll instead feel air in front of the prop. If this is the case, shut down your throttle and reverse any two cables on the motor. (I like to reverse red and black, gives me that rebellious feeling). Then try the motor again, you should have air flowing over the wing instead of away from it.
Center of Gravity
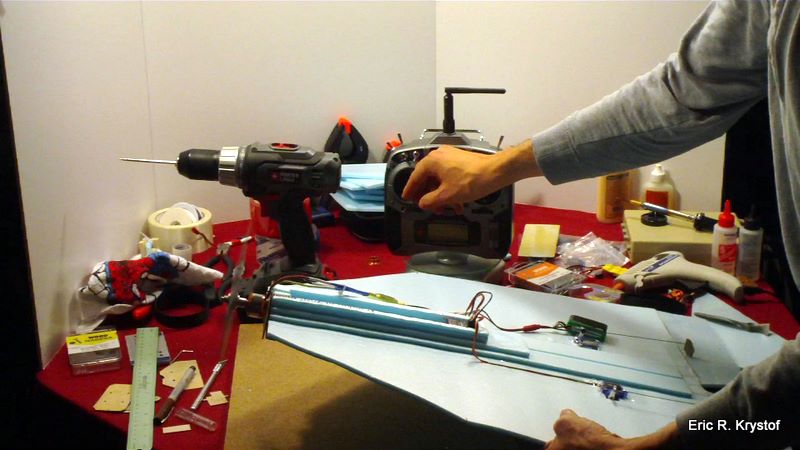
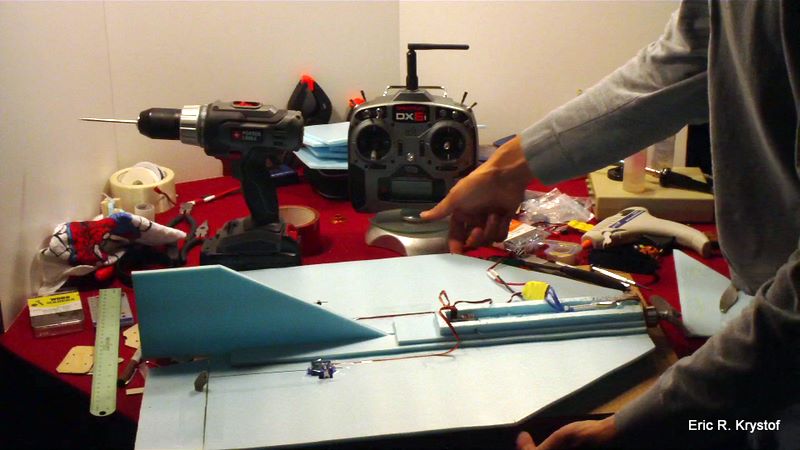
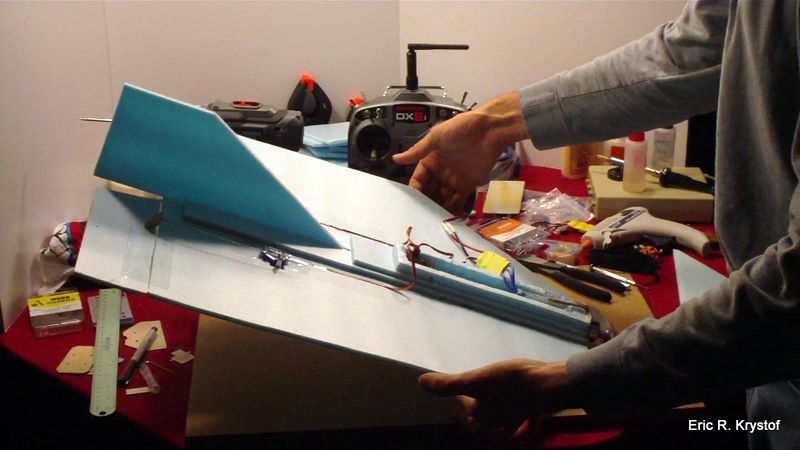
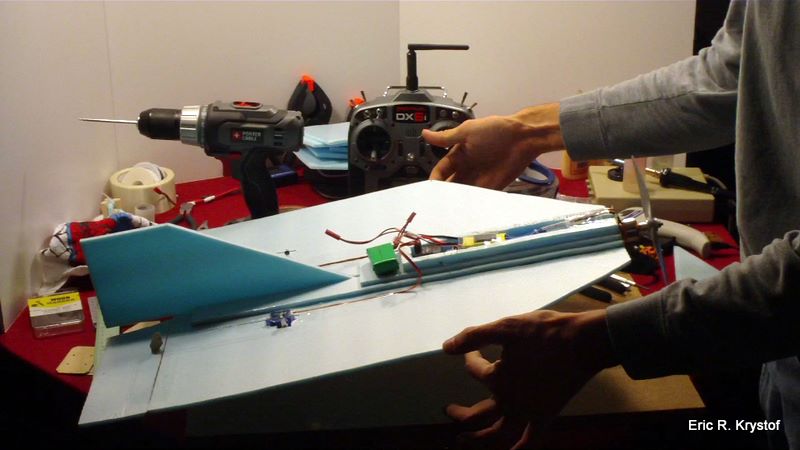
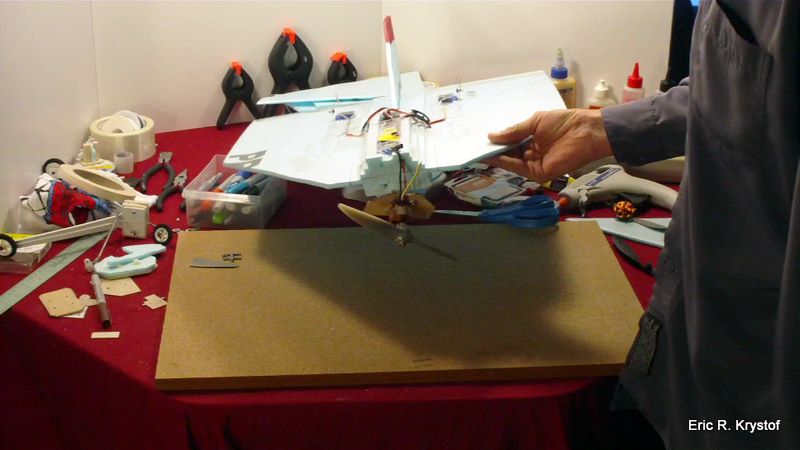
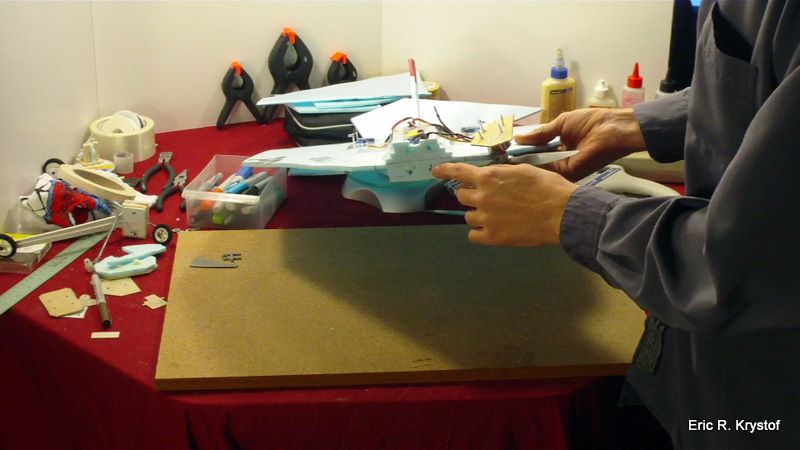
After you’ve mounted all the hard electronics and foam on your plane, it’s time to check your center of gravity. You’ll notice on our flyer the marks 1/3 from the front of our wing where the angle ends. This is the center of gravity, or pretty darn close. Now, we haven’t secured the ESC yet, and you can tell by an initial balancing that our flyer is nose heavy (due to the motor and prop). So we’ll definitely move our ESC back as much as possible and temporarily mount it. It’s no longer as top heavy. I generally fly just a little forward of the planned CG, but the ESC alone is clearly not going to cut it. This is why we mount our battery last. It acts as the final trim of our balancing. So you can see if the battery is placed near the receiver, it comes very close to being balanced. Moving it forward a tad, you can see we’re now nose heavy again. Placing it right above the receiver balances our version, so this means we’ll mount the battery in that same position on the underside of the craft.
Too far back, tail heavy, too far forward, and it’s nose heavy. If you must err on one side or the other, err on nose heaviness. As Chameleon says, a nose heavy plane will fly with difficulty…a tail heavy plane will fly ONCE. We then place a strip of velcro on the bottom of the plane along the fuseleage. This let’s us adjust the center of gravity if we decide to try a lighter or heavier battery in the future. In that case, simply move the battery mounting back or forth.
Stencils
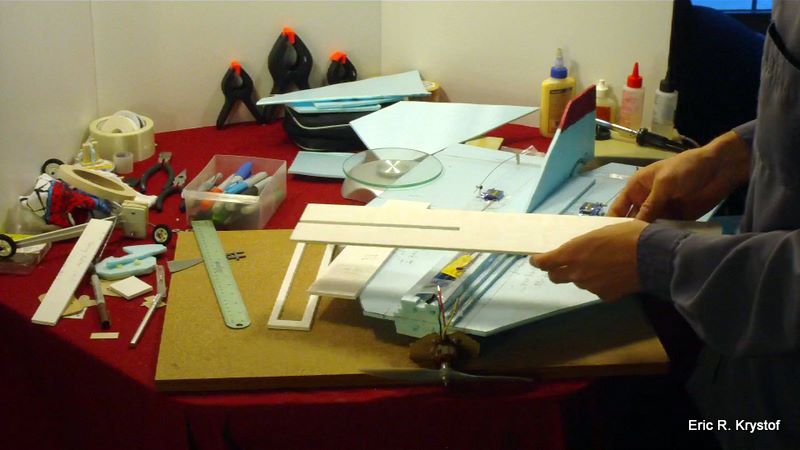
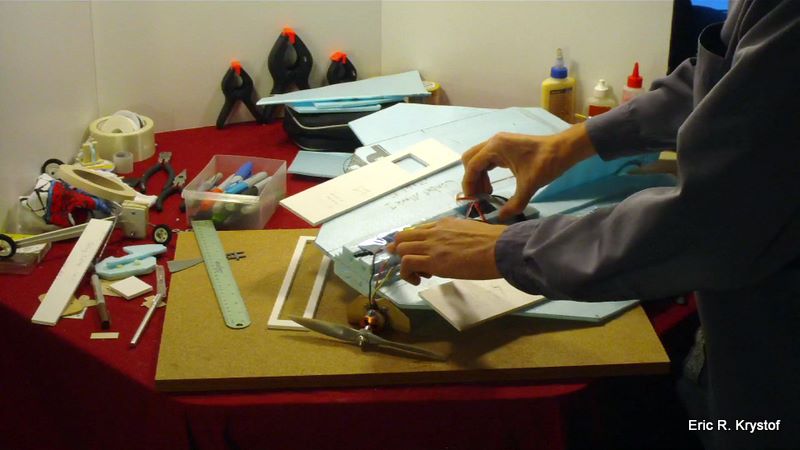
One of the things to consider as you start cutting out more of these plans is that there are some shortcuts you can take to ease the process. For example, I’ve created stencils of the plans on Elmer’s Poster Board, which works out well. When cutting a new flyer, I place the stencils on the foam, trace, then cut. No more measuring required. I’ve also cut out the stencil so that the part of the foam I would normally dig out after building up the fuselage (see first video) can be cut away beforehand, which builds up the recession for the electronics without having to pry out foam pieces afterward.
Firewall Mounting
I mentioned shortcuts… some you can take, some you can’t. This is what happens when you don’t mount the firewall well enough. I did not, and now my combat plane has unsightly dangling bits. Given that our firewall is attaching to such a large piece of foam, you must ensure the firewall is well epoxied, sanding the nose flat beforehand. You should also make sure the four screw-holes are bigger than the screws you’re using, since you’re filling the screw-holes with epoxy before your motor mounting, to give the screws something to bite. What I failed to do here was make sure the epoxy filled the screw-holes in well enough. This left too little for the screws to bite and the firewall popped right off for these reasons. So drill wide, fill well, and much like the Spice Melange, remember that the epoxy must flow. (Nerdy DUNE reference, my bad).
Prop Size and Watt-Meters.
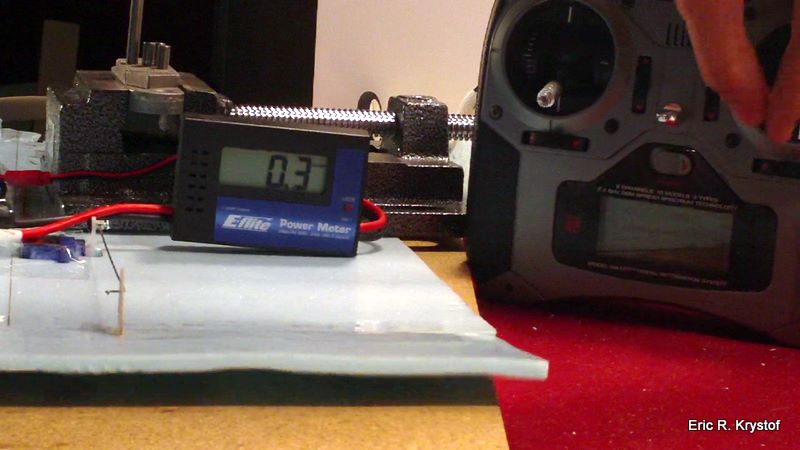
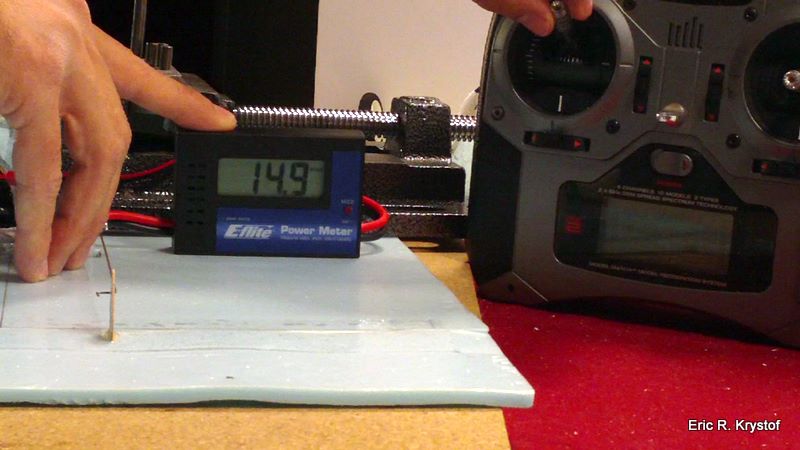
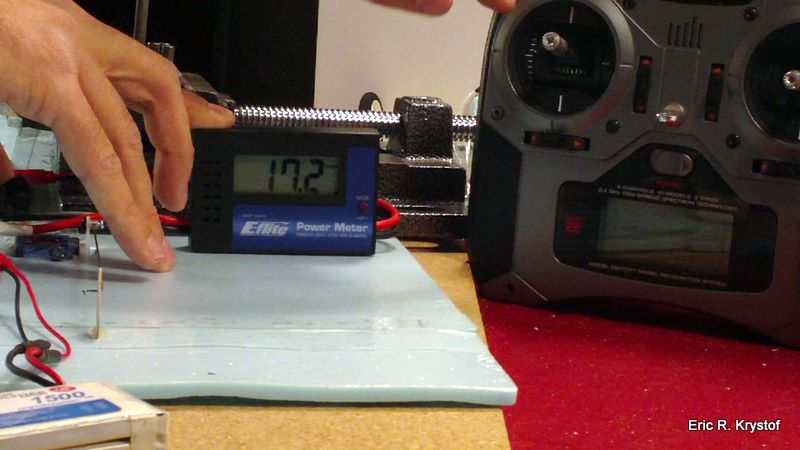
We’ve used 9×5 and 8×4 props with this configuration of a specific motor, ESC and battery. You should always be careful when building your own configurations that you’re not going to pull too many amps through your circuit. A watt meter is an essential tool for making sure you don’t release the magic smoke from your electronics. Given our ESC can handle up to 30 amps, our motor has a max of 18 amps and our 1000 mAh 20 C battery can give 20 amps, we want to make sure we don’t pull more than 18 amps through the circuit because our motor is the limiting factor here. You can handle at most 18.5 if you’re moving servos at the same time, as you can see they take a few milliamps. When testing this, make sure you use a fully charged battery. You can see my burst is about 16 amps, and generally running around 13 to 14 amps, so we’re pretty safe with a 2 cell Li-Po battery. Replacing that with a 3 cell Li-Po, our motor spins faster without having to move the throttle all the way up, we hit 18 amps before the throttle was at 100%. You don’t want to go any higher, otherwise you’ll put out more amps than the motor can handle. How do you rectify this? Use a smaller prop, either in size or pitch, and retest. Get comfy with this idea, as bench tests like this save you heartache in the air. Unless you’re shooting for exploding electronics or flaming foam while flying, then by all means, go forth my son and ROCK… just don’t blame me.
What’s next?
That does it for this second article in our COMBAT! Series. Just a few hints, tips and ideas. Hopefully the next article and video will hopefully have some combat flying. I’ve got video of these things flying in the air, but I’ve little if anything of them hitting each other. So, wish us luck, hope we don’t suck, and maybe in the third video we’ll actually have some mid-air crashes.
Note: HoverAndSmile.com is no more. The content has been migrated into krystof.io.

